customers/addresses
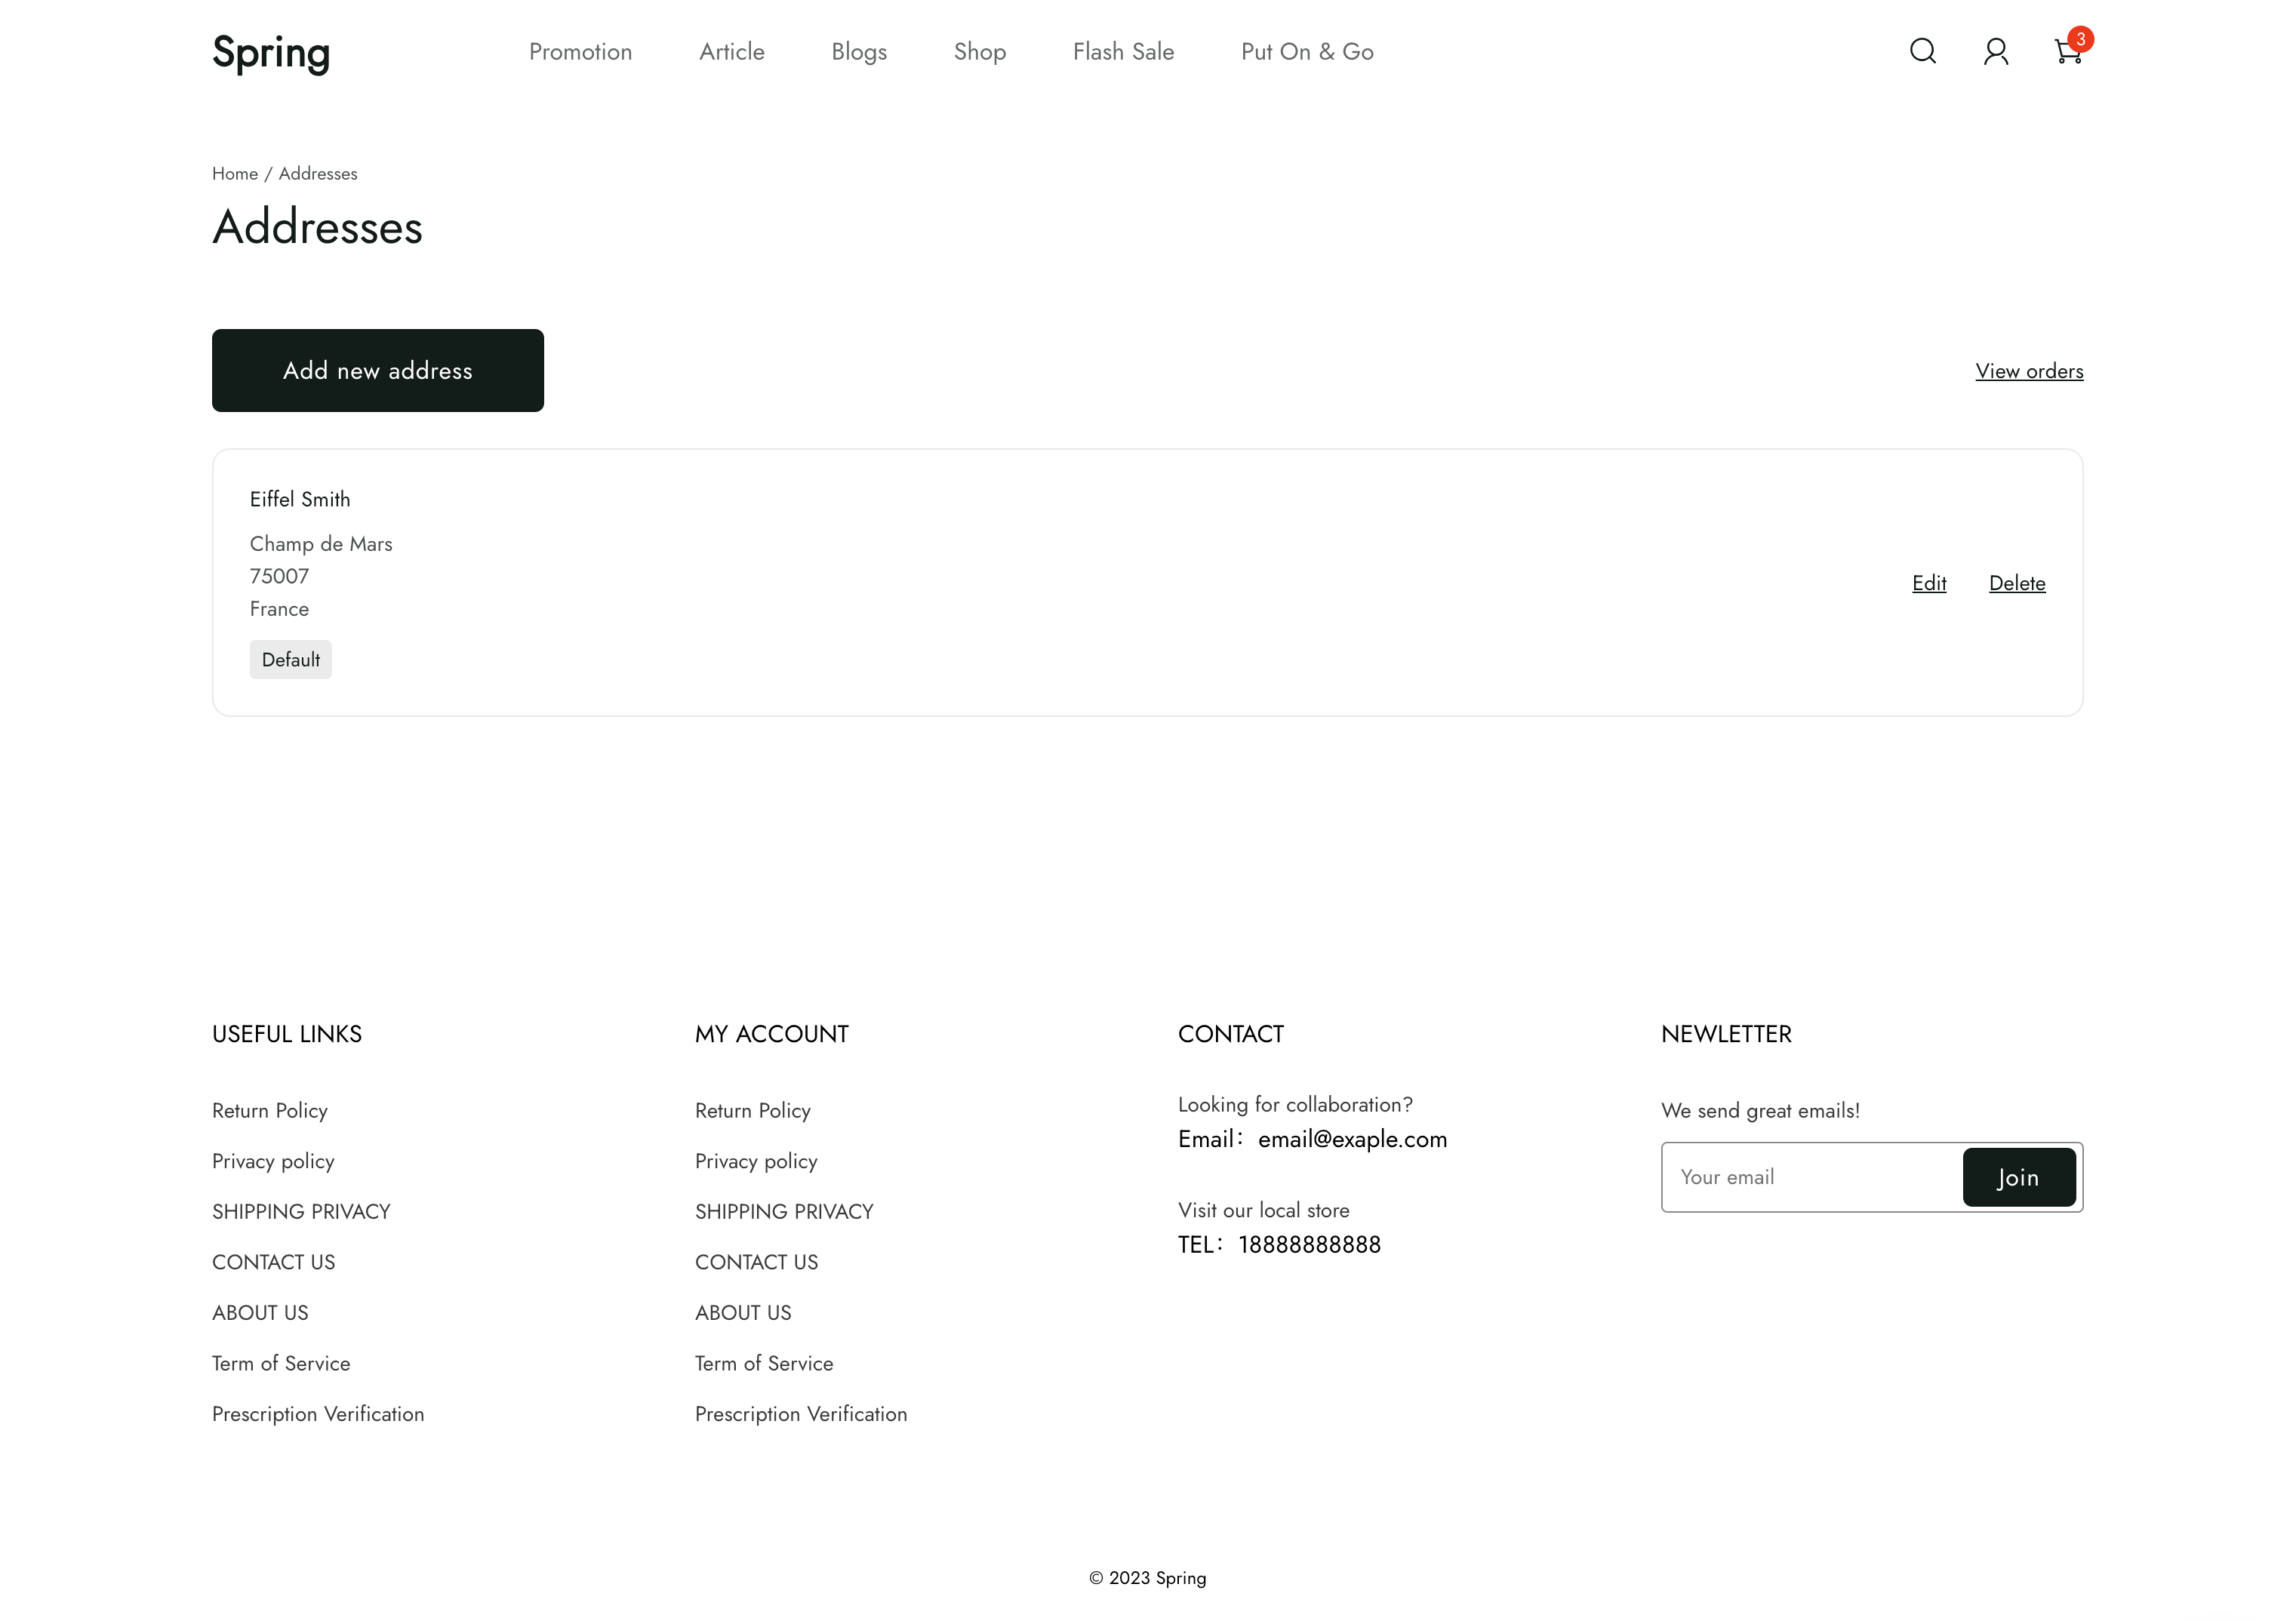
The customers/addresses template renders the customer addresses page, which allows customers to view and manage their current addresses, as well as add new ones.
Location
The customers/addresses template is located in the templates > customers directory of the theme:
└── theme
    ├── layout
    ├── templates
    |   └── customers
    |     ├── addresses.liquid
    |     ...
    ...
Content
You should include the following in your section inside the template:
The customer object
You can access the Liquid customer object to display the customer account details.
Standard form inputs
Inside forms for adding or editing an address, there are standard form inputs for each address detail. The table below shows each, with their associated type and name attributes.
| Input | type | name |
|---|---|---|
| First name | text | first_name |
| Last name | text | last_name |
| Company | text | company |
| Address | text | address |
| Address 1 | text | address1 |
| City | text | city |
| Country | select | country_code |
| Province | select | province_code |
| ZIP | text | zip |
text | email | |
| Phone Number Code | select | phone_area_code |
| Phone Number | text | phone |
| Is default | checkbox | is_default |
CautionThe form inputs for each address detail must have the
nameattributes from this table, or the form won't submit successfully.
Usage
When working with the customers/addresses template, you should familiarize yourself with the following:
Add a new address
You can allow customers to add a new address with the form.
<form method="POST" action="{{ '/api/customers/addresses' | add_root_url }}">
  <div>
    <div>
      <input type="text" id="firstName" name="first_name" maxlength="50">
      <label for="firstName">First name</label>
    </div>
    <div>
      <input type="text" id="lastName" name="last_name" maxlength="50">
      <label for="lastName">Last name</label>
    </div>
  </div>
  <div>
    <input type="text" id="company" name="company">
    <label for="company">Company</label>
  </div>
  <div>
    <input type="text" id="address" name="address">
    <label for="address">Address</label>
  </div>
  <div>
    <input type="text" id="address1" name="address1">
    <label for="address1">Apartment, suite, etc.</label>
  </div>
  <div>
    <input type="text" id="city" name="city">
    <label for="city">City</label>
  </div>
  <div>
    <div>
      <select name="country_code" id="countryCode" value="" required>
        <option empty value="" selected disabled>Country</option>
      </select>
    </div>
    <div>
      <select id="provinceCode" name="province_code" value="">
        <option empty value="" selected disabled>Province</option>
      </select>
    </div>
  </div>
  <div>
    <input type="text" id="zip" name="zip">
    <label for="zip">ZIP</label>
  </div>
  <div>
    <input type="text" id="email" name="email">
    <label for="email">Email</label>
  </div>
  <div>
    <select id="phoneAreaCode" name="phone_area_code" value="">
      <option empty value="" selected disabled>Area code</option>
    </select>
    <input type="text" id="phone" name="phone">
    <label for="phone">Phone</label>
  </div>
  <div>
    <input type="checkbox" id="isDefault" name="is_default">
    <label for="isDefault">Set as default</label>
  </div>
  <button type="submit">Add new address</button>
</form>
Inside the form, you need to include the standard form inputs for capturing the various address details.
Delete an address
With each existing address, you should include the option to delete it. You can add this option by including the following form:
<form
  id="address-delete-form"
  method="DELETE"
  action="/api/customers/addresses/{{ address.id }}"
></form>
TipYou should couple the above form with JavaScript to prompt customers to confirm that they'd like to delete an address before actually performing the deletion.
Updated 6 months ago