
App Command Best Practice
This guide provides a step-by-step tutorial on how to use the Shoplazza App CLI commands to create, develop, and deploy Shoplazza applications and their extensions.
Prerequisites
Before using the shoplazza app CLI commands, ensure the following tools are installed on your system:
- Node.js (supported versions:
v20.9.0orv20.18.0) - Git
- The latest version of the Shoplazza CLI
# To install or update the Shoplazza CLI to the latest version, run the following command:
npm i -g shoplazza-cli
Implementation Steps
1. Install or Update the Shoplazza CLI
- To get started, download or update the Shoplazza CLI by running the following command:
npm i -g shoplazza-cli- After the installation is complete, press any key to open the login page in your browser.
2. Select or Create a Partner Account on the Web Page
Once the login page opens in your browser, select an existing Partner account or create a new one as needed.
3. Initialize the App Project
shoplazza app initDuring Initialization:
- Select the corresponding Organization account.
- Choose to create a new app or link an existing app:
- If you choose to create a new app:
- Input the app name (e.g.,
your-project). This will generate the project directory and the basic file structure, including theshoplazza.app.tomlconfiguration file.my-app/ ├── shoplazza.app.toml # Main configuration file ├── shoplazza.app.prod.toml # Production environment configuration ├── shoplazza.app.staging.toml # Staging environment configuration ├── extensions/ # Extensions directory │ ├── theme-extension/ # Theme extension │ ├── checkout-extension/ # Checkout extension │ └── function-extension/ # Function extension ├── package.json └── README.md
- Input the app name (e.g.,
- If you choose to create a new app:
4. Create an App Extension
# Navigate to the App Project Directory:

cd your-project

# Execute the Command to Create an Extension:

shoplazza app generate extension- Select the Extension Type (Theme / Checkout / Function)
- If you choose Theme Extension, you will further select the type of Theme Extension:
EmbedorBasic(External Link)
- If you choose Theme Extension, you will further select the type of Theme Extension:
- Input the Extension Name
- Generate Files for the Extension
Example Extension Structure (extensions/my-extension/):extensions/ └── my-extension/ ├── shoplazza.extension.toml # Extension configuration file ├── src/ # Source code directory │ ├── index.js # Main entry file │ ├── index.html # HTML template │ ├── style.css # Stylesheet file │ └── script.js # JavaScript logic └── README.md # Extension documentation
5. Debugging
- Start the Local Development Server:
shoplazza app dev -
After Successfully Executing the Command, follow the Terminal Prompts:
- Enter the test store domain as instructed in the terminal.
-
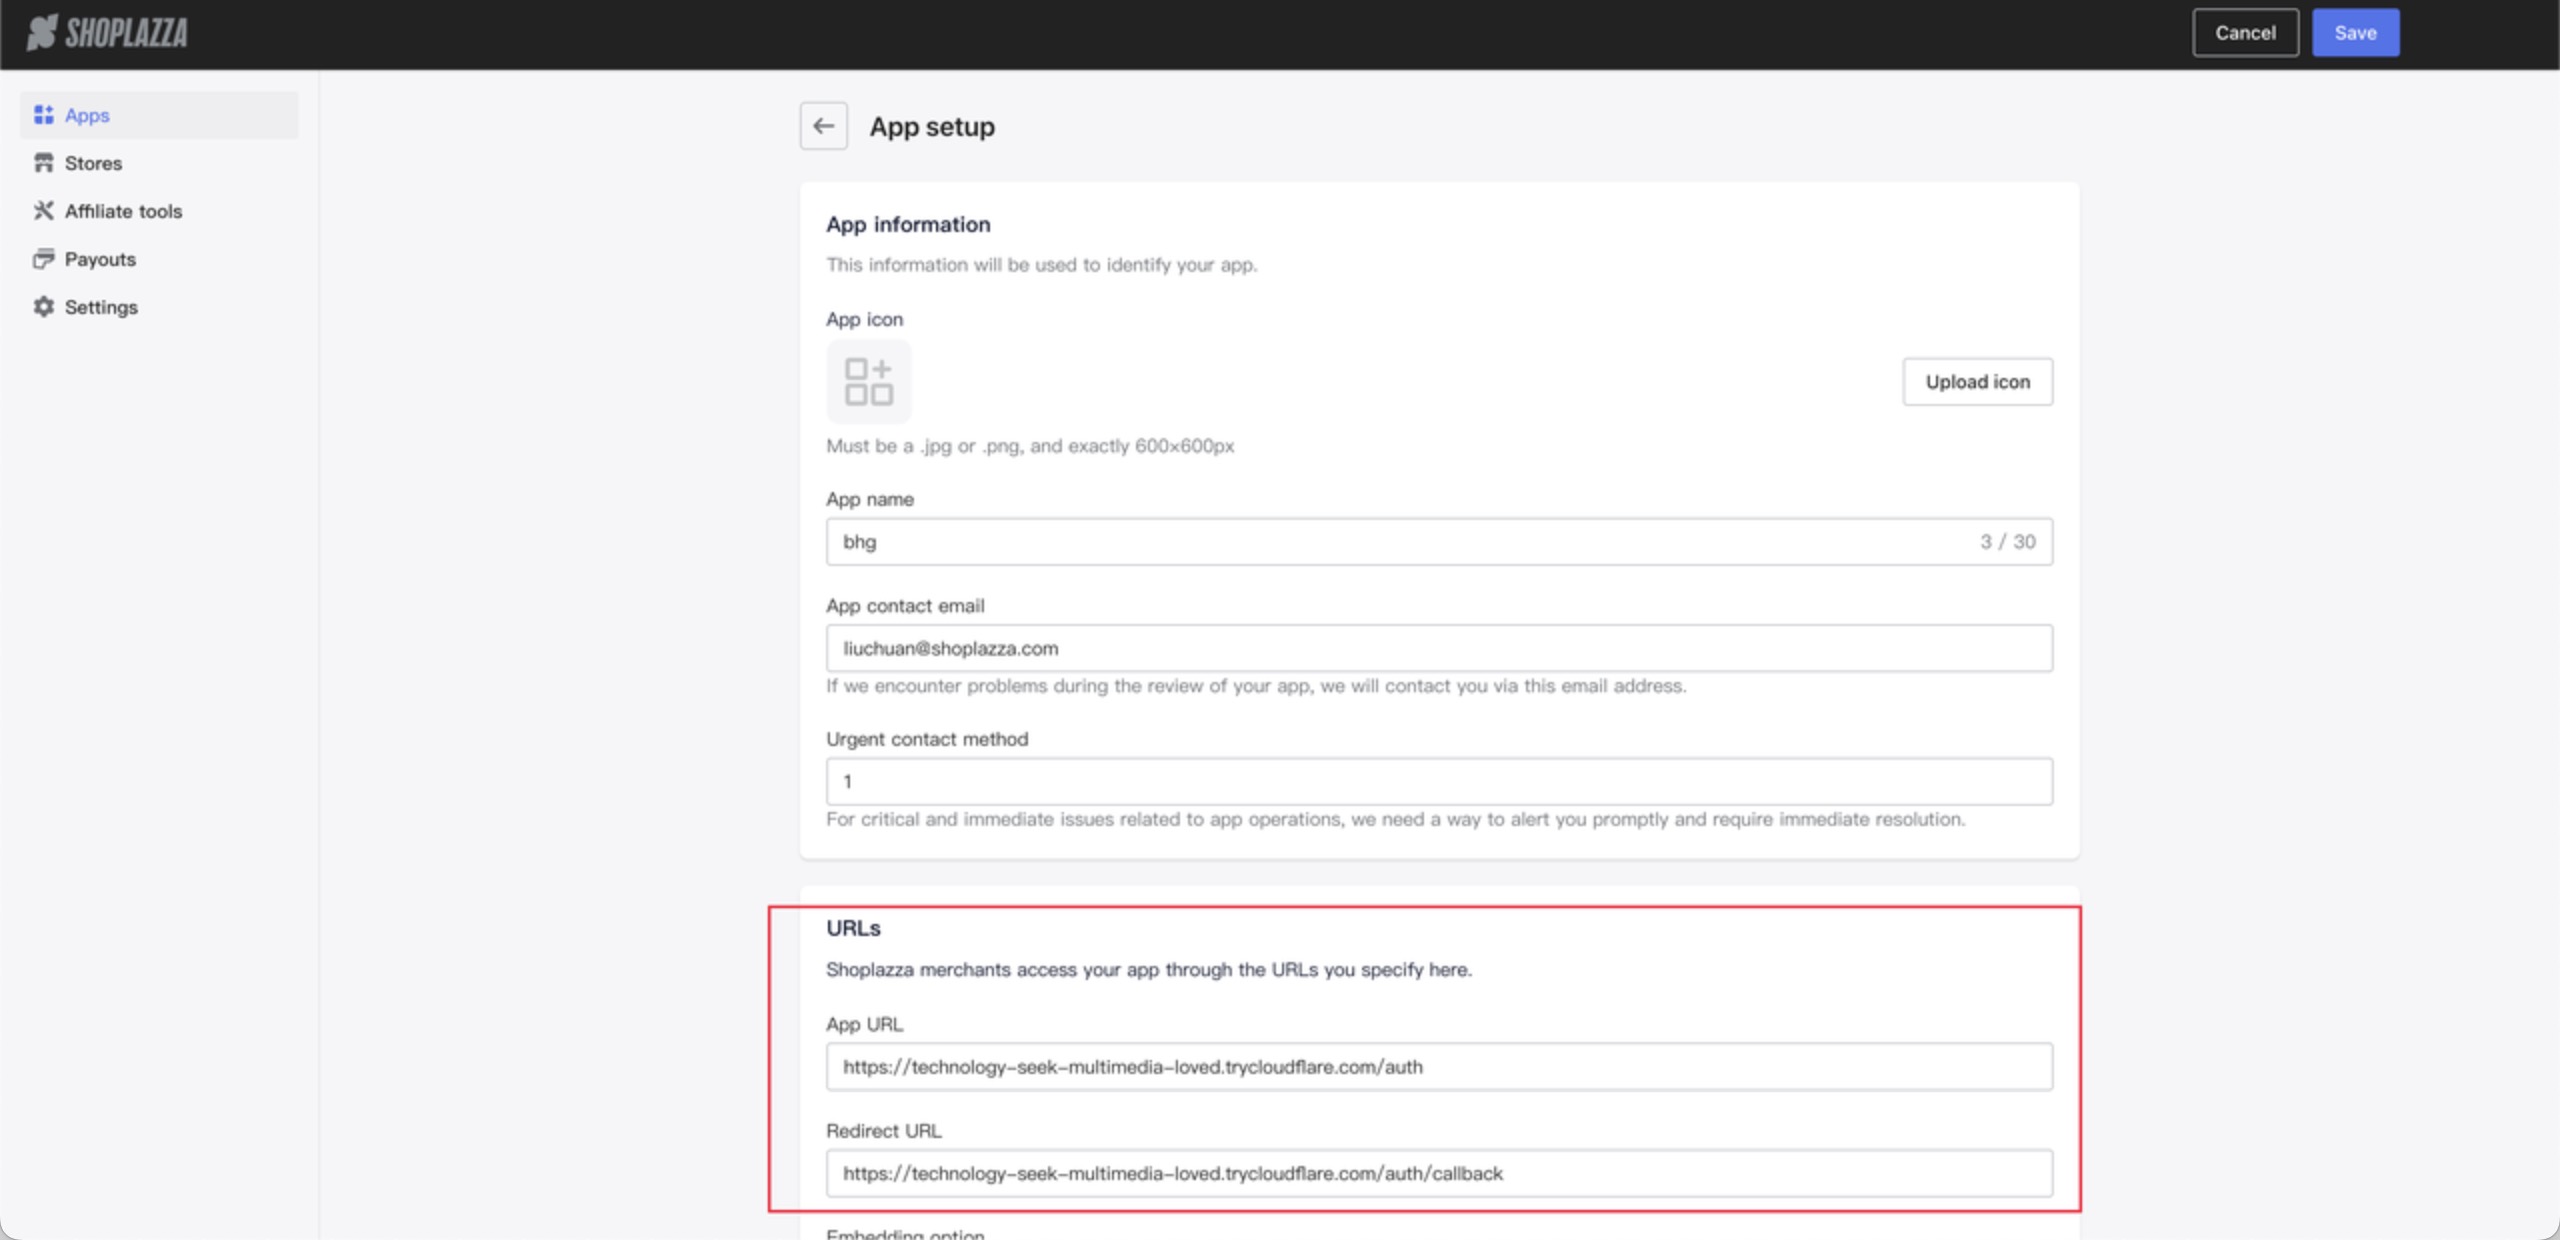
Terminal Returns:(as shown in the diagrams)
- App URL
- Redirect URL
- Install URL

-
Navigate to Partner Admin:
- Input the returned App URL and Redirect URL into the App settings within the Partner Admin panel.
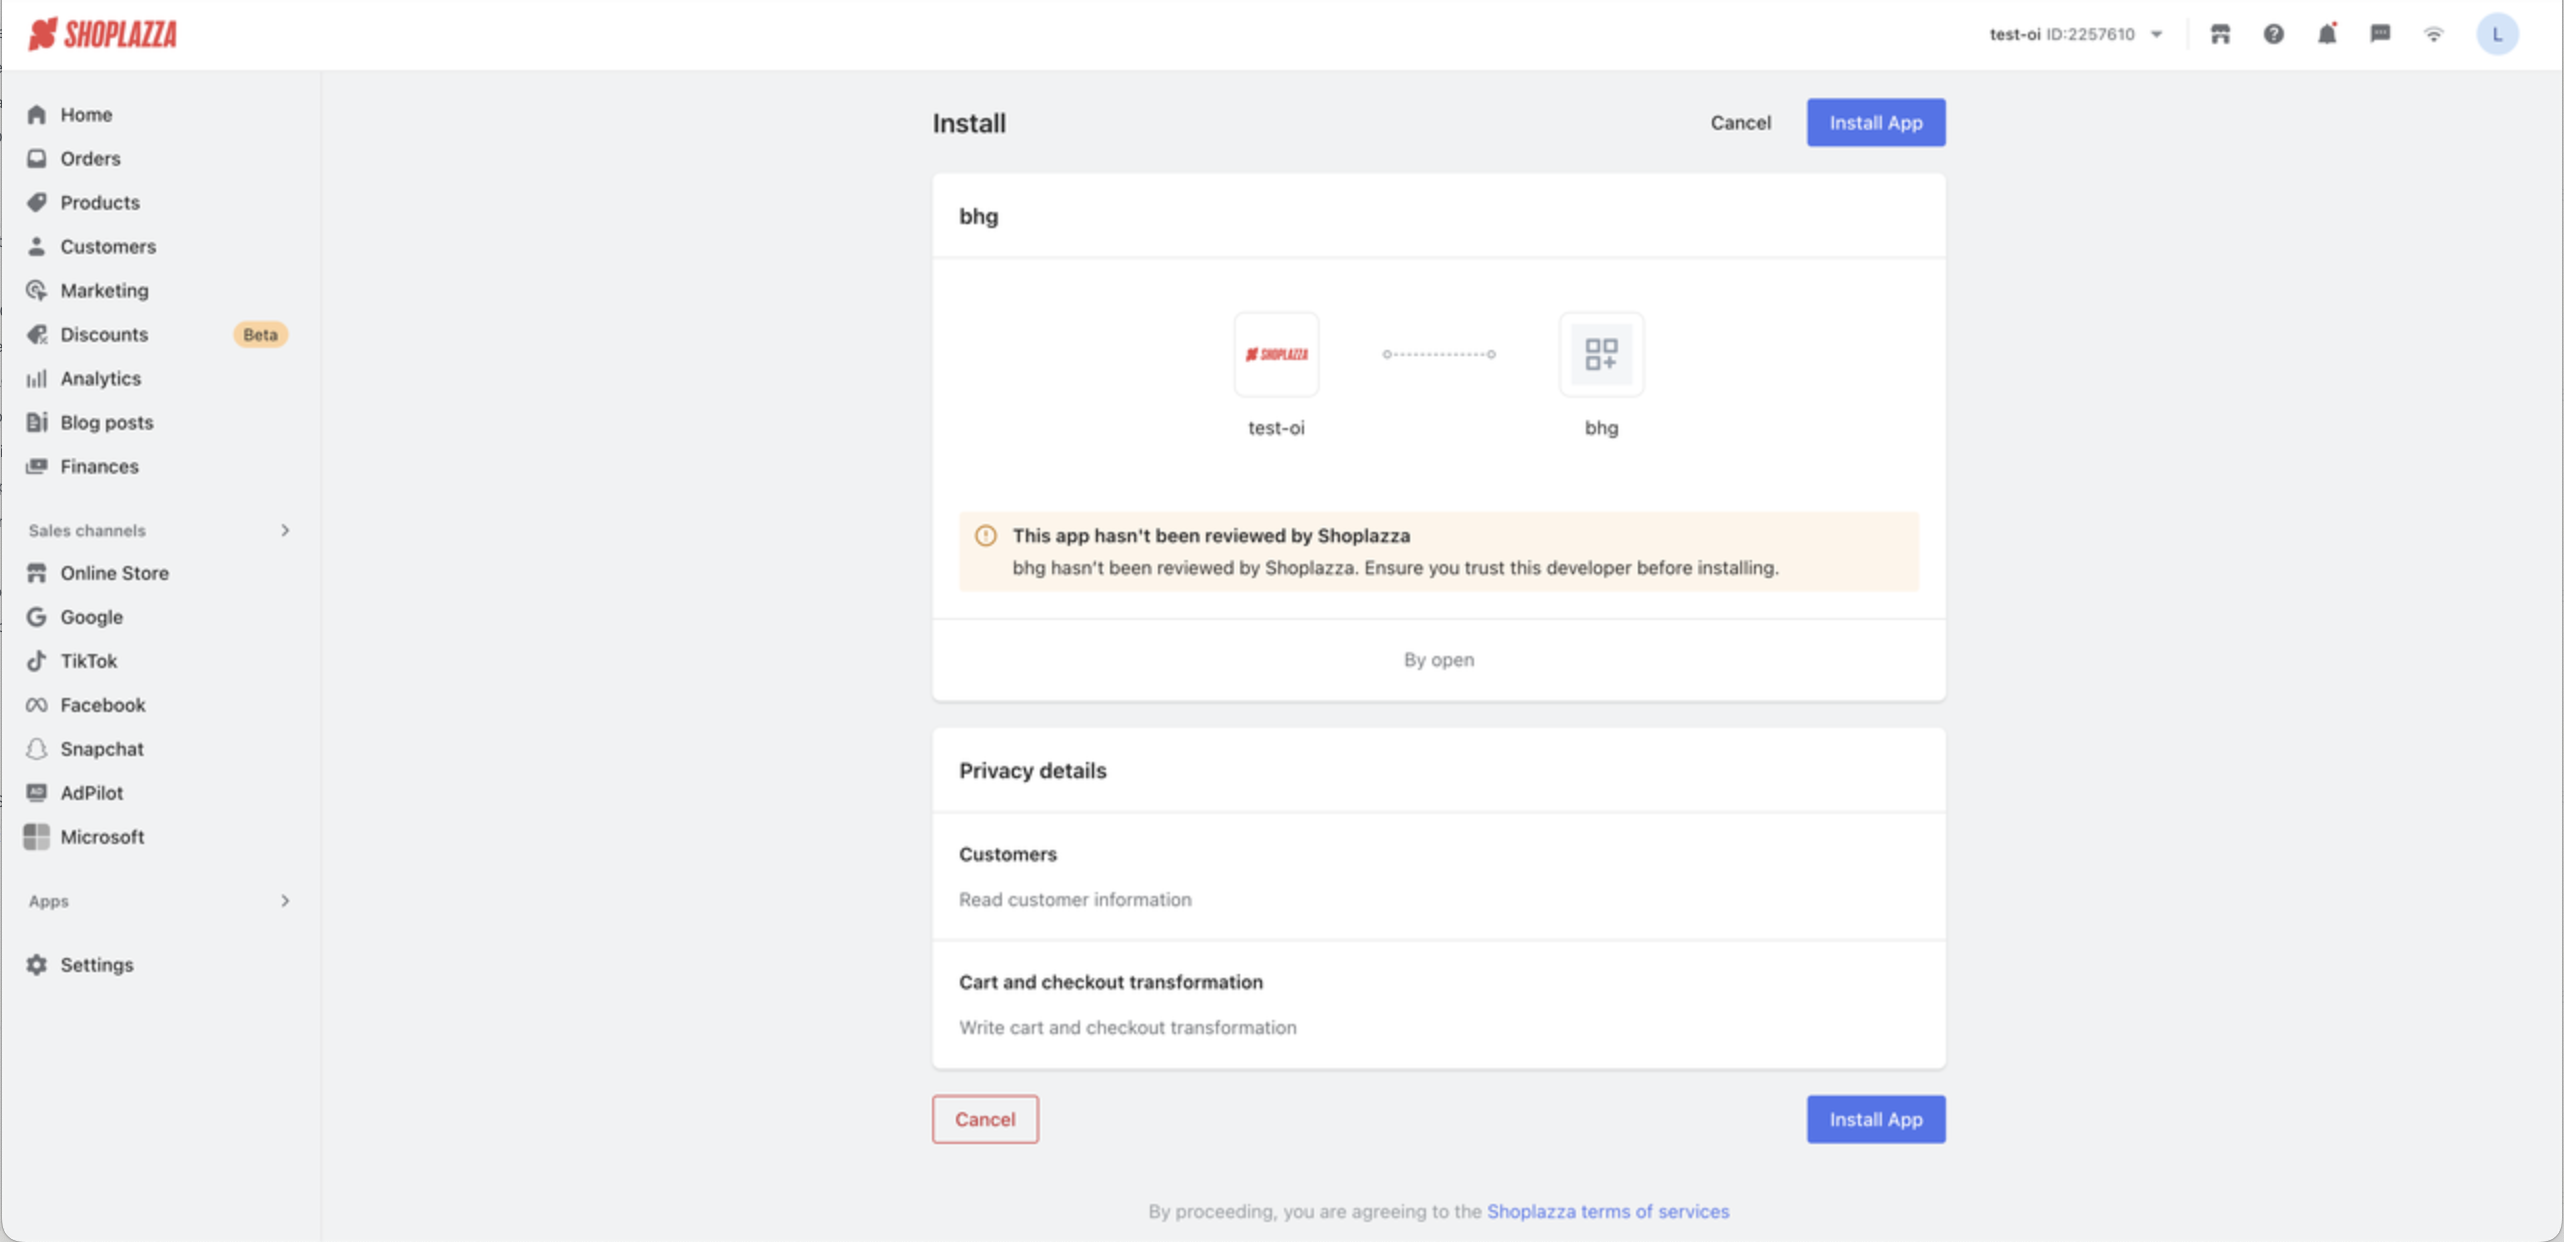
-
Access the Install URL:
- Visit the Install URL to perform the installation test.
-
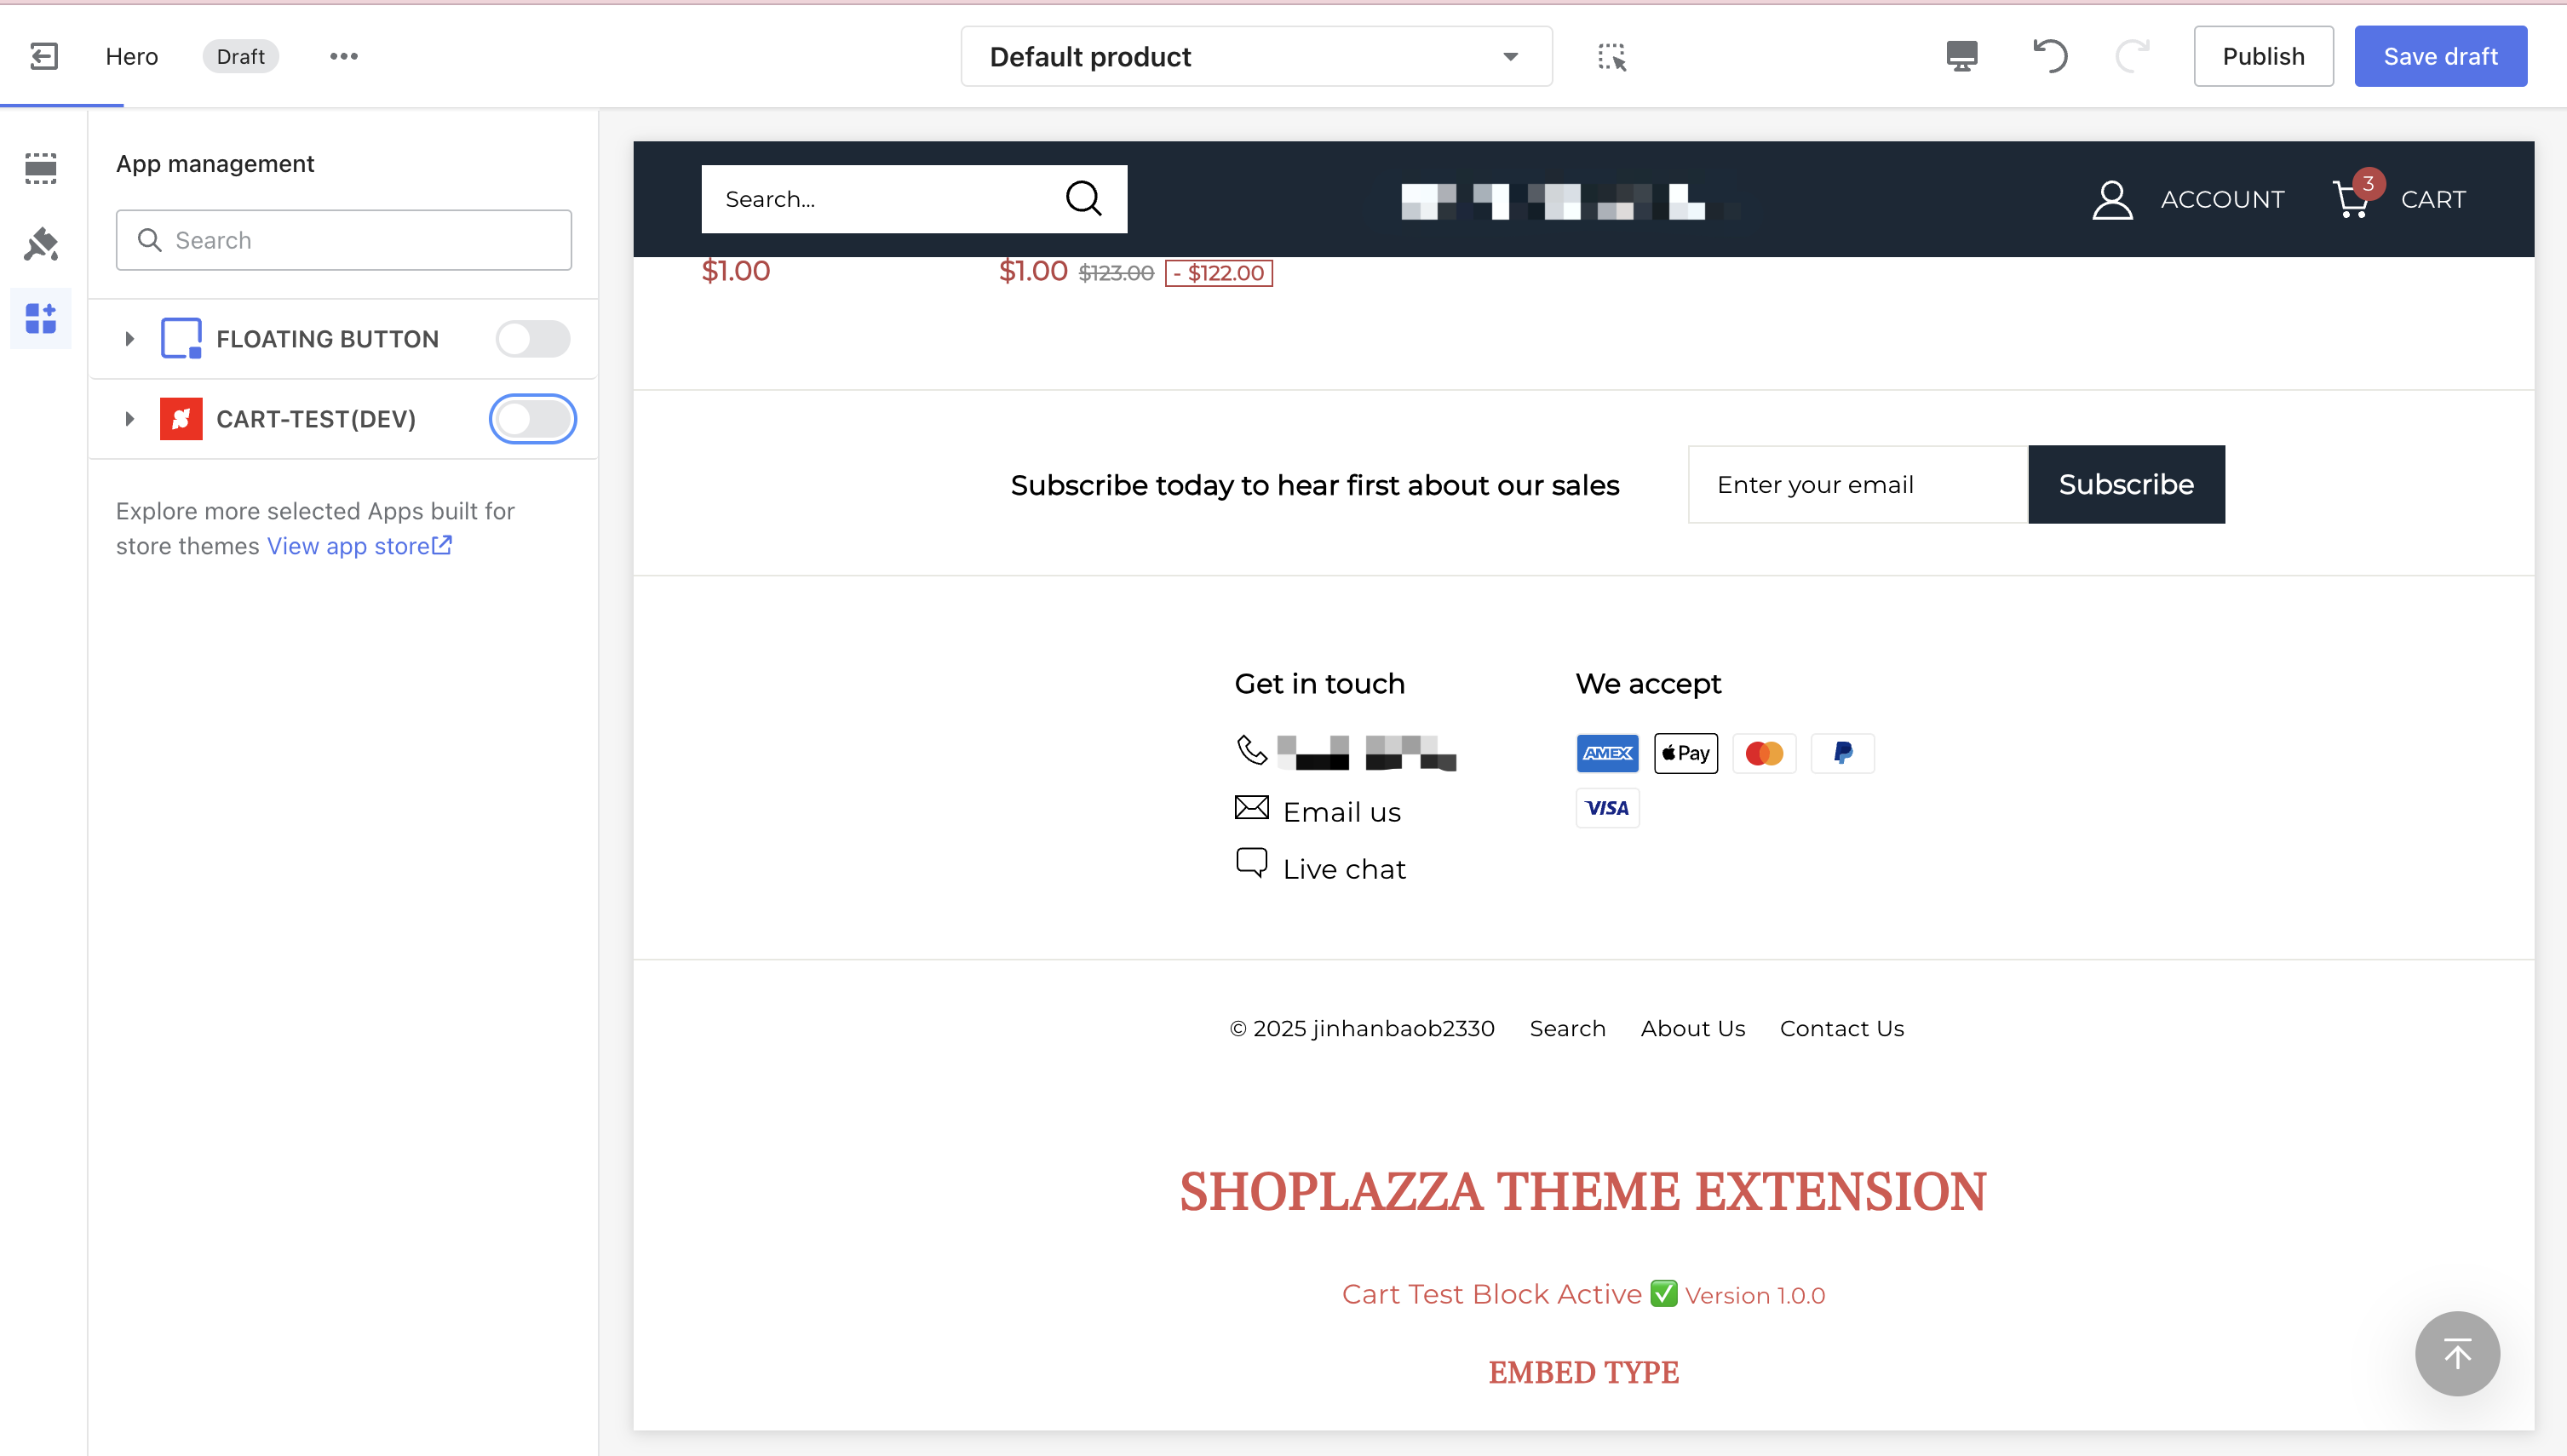
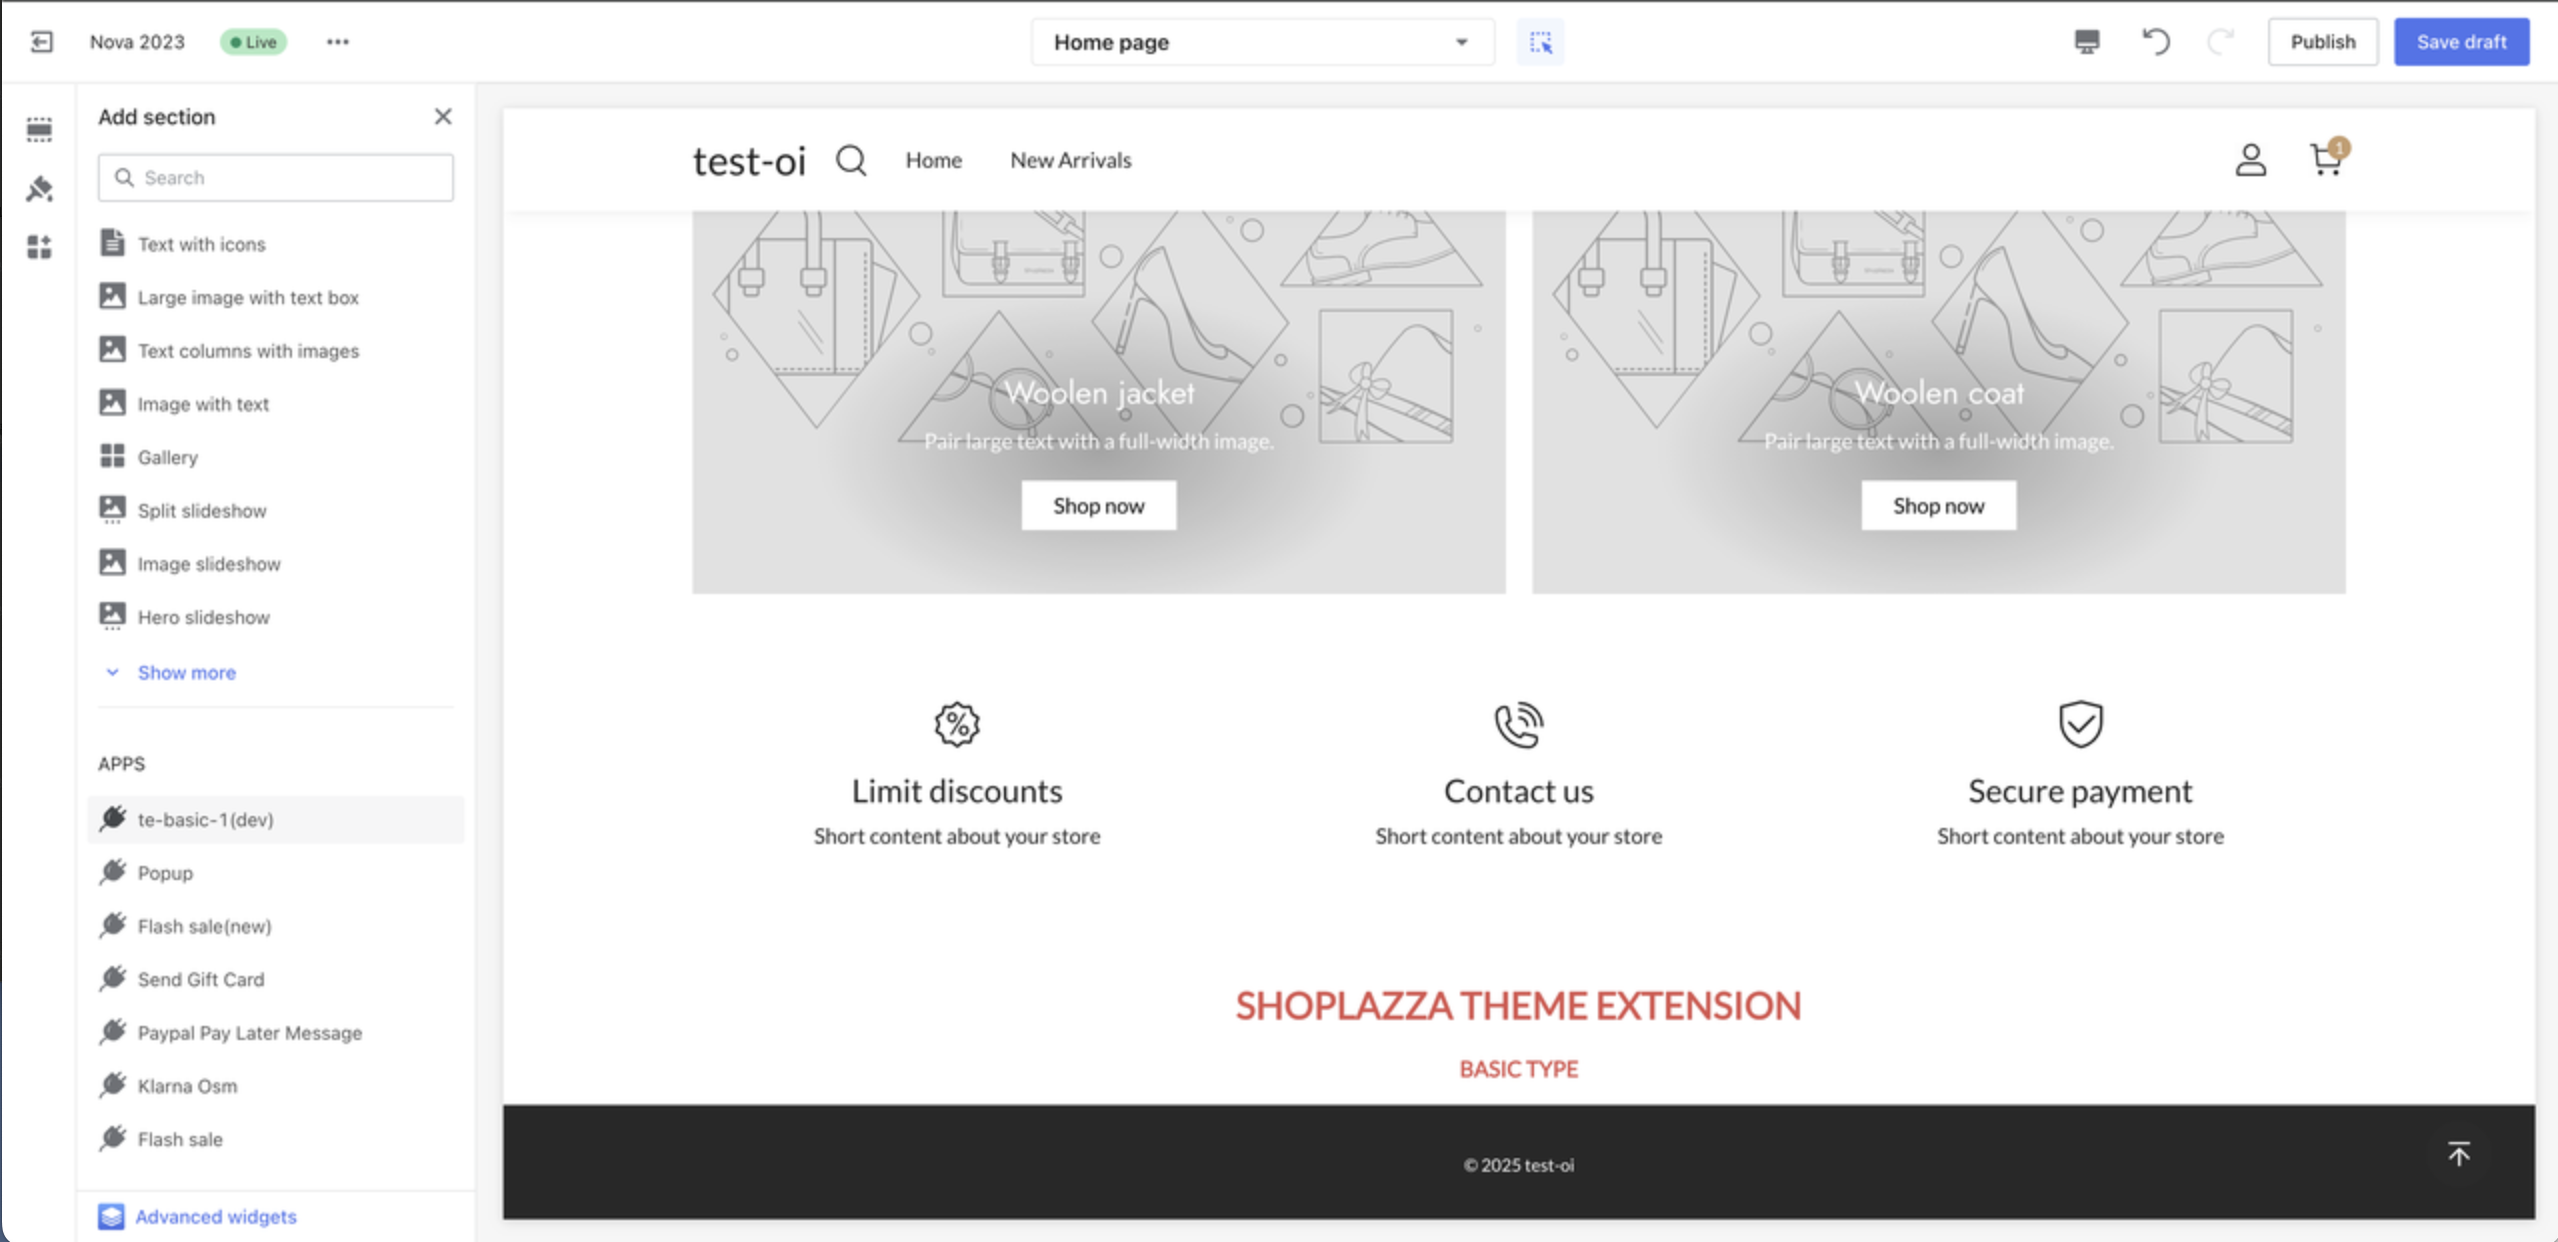
View the Effects:
i. Theme Extension:
- In the Store Admin, go to Online Store, then Theme Editor. Select the corresponding theme and click Edit to enter the Preview Page.
- Open App Management toggle to perform Theme Preview.
Embed theme extension:
Basic theme extension:
ii. Function Extension:
- Go to the Online Store, perform an Add to Cart action, and observe whether the price modification script is executed.
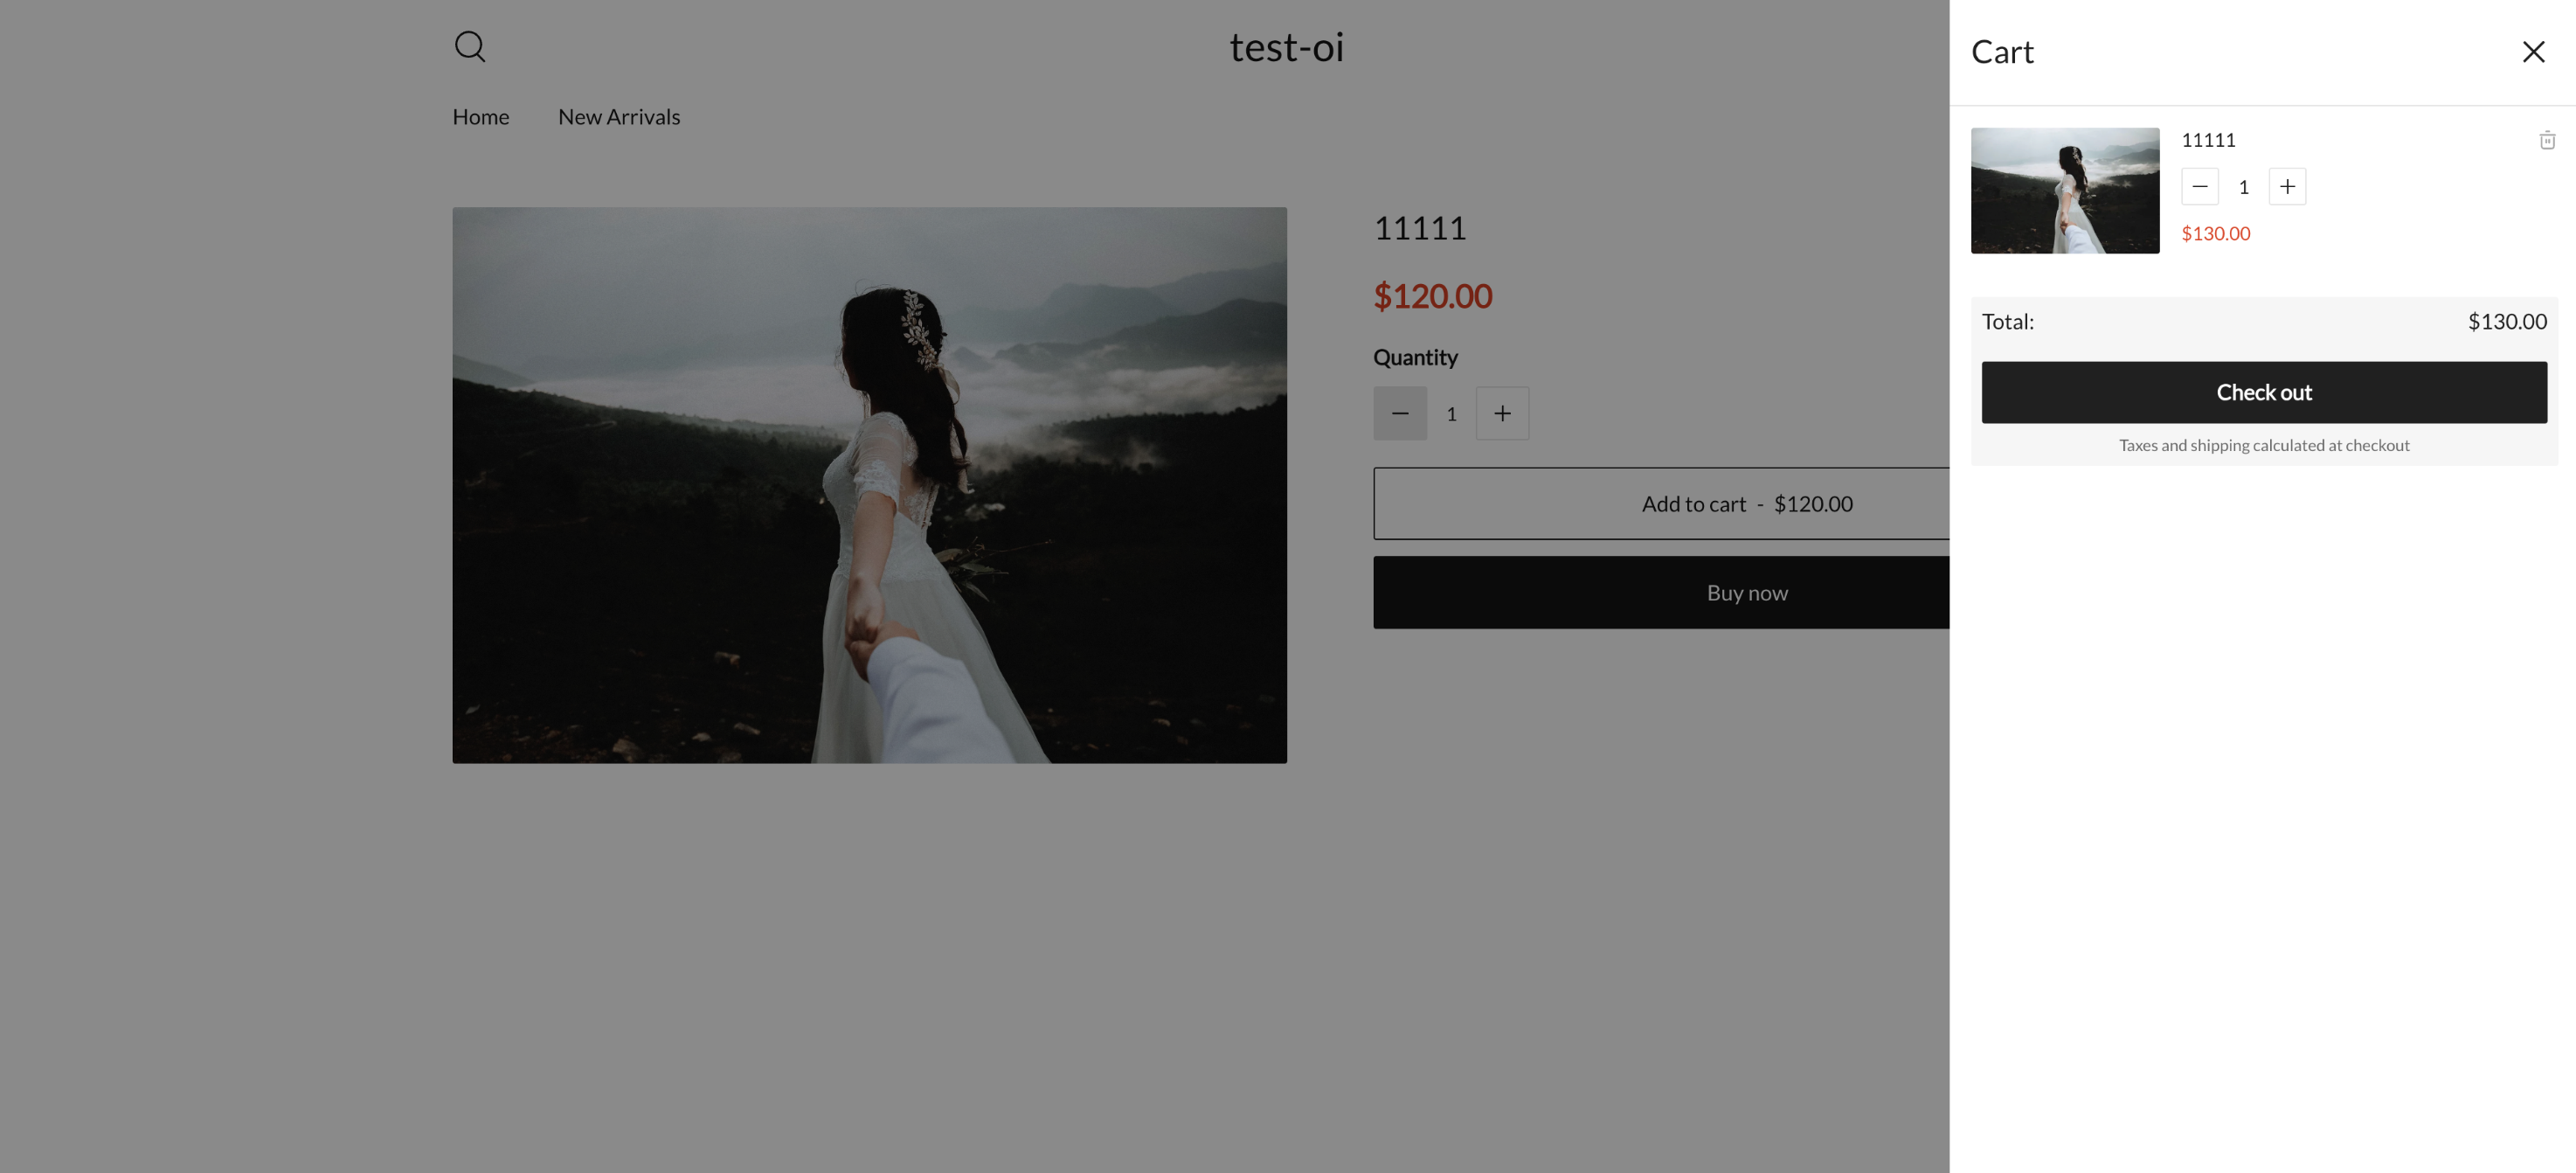
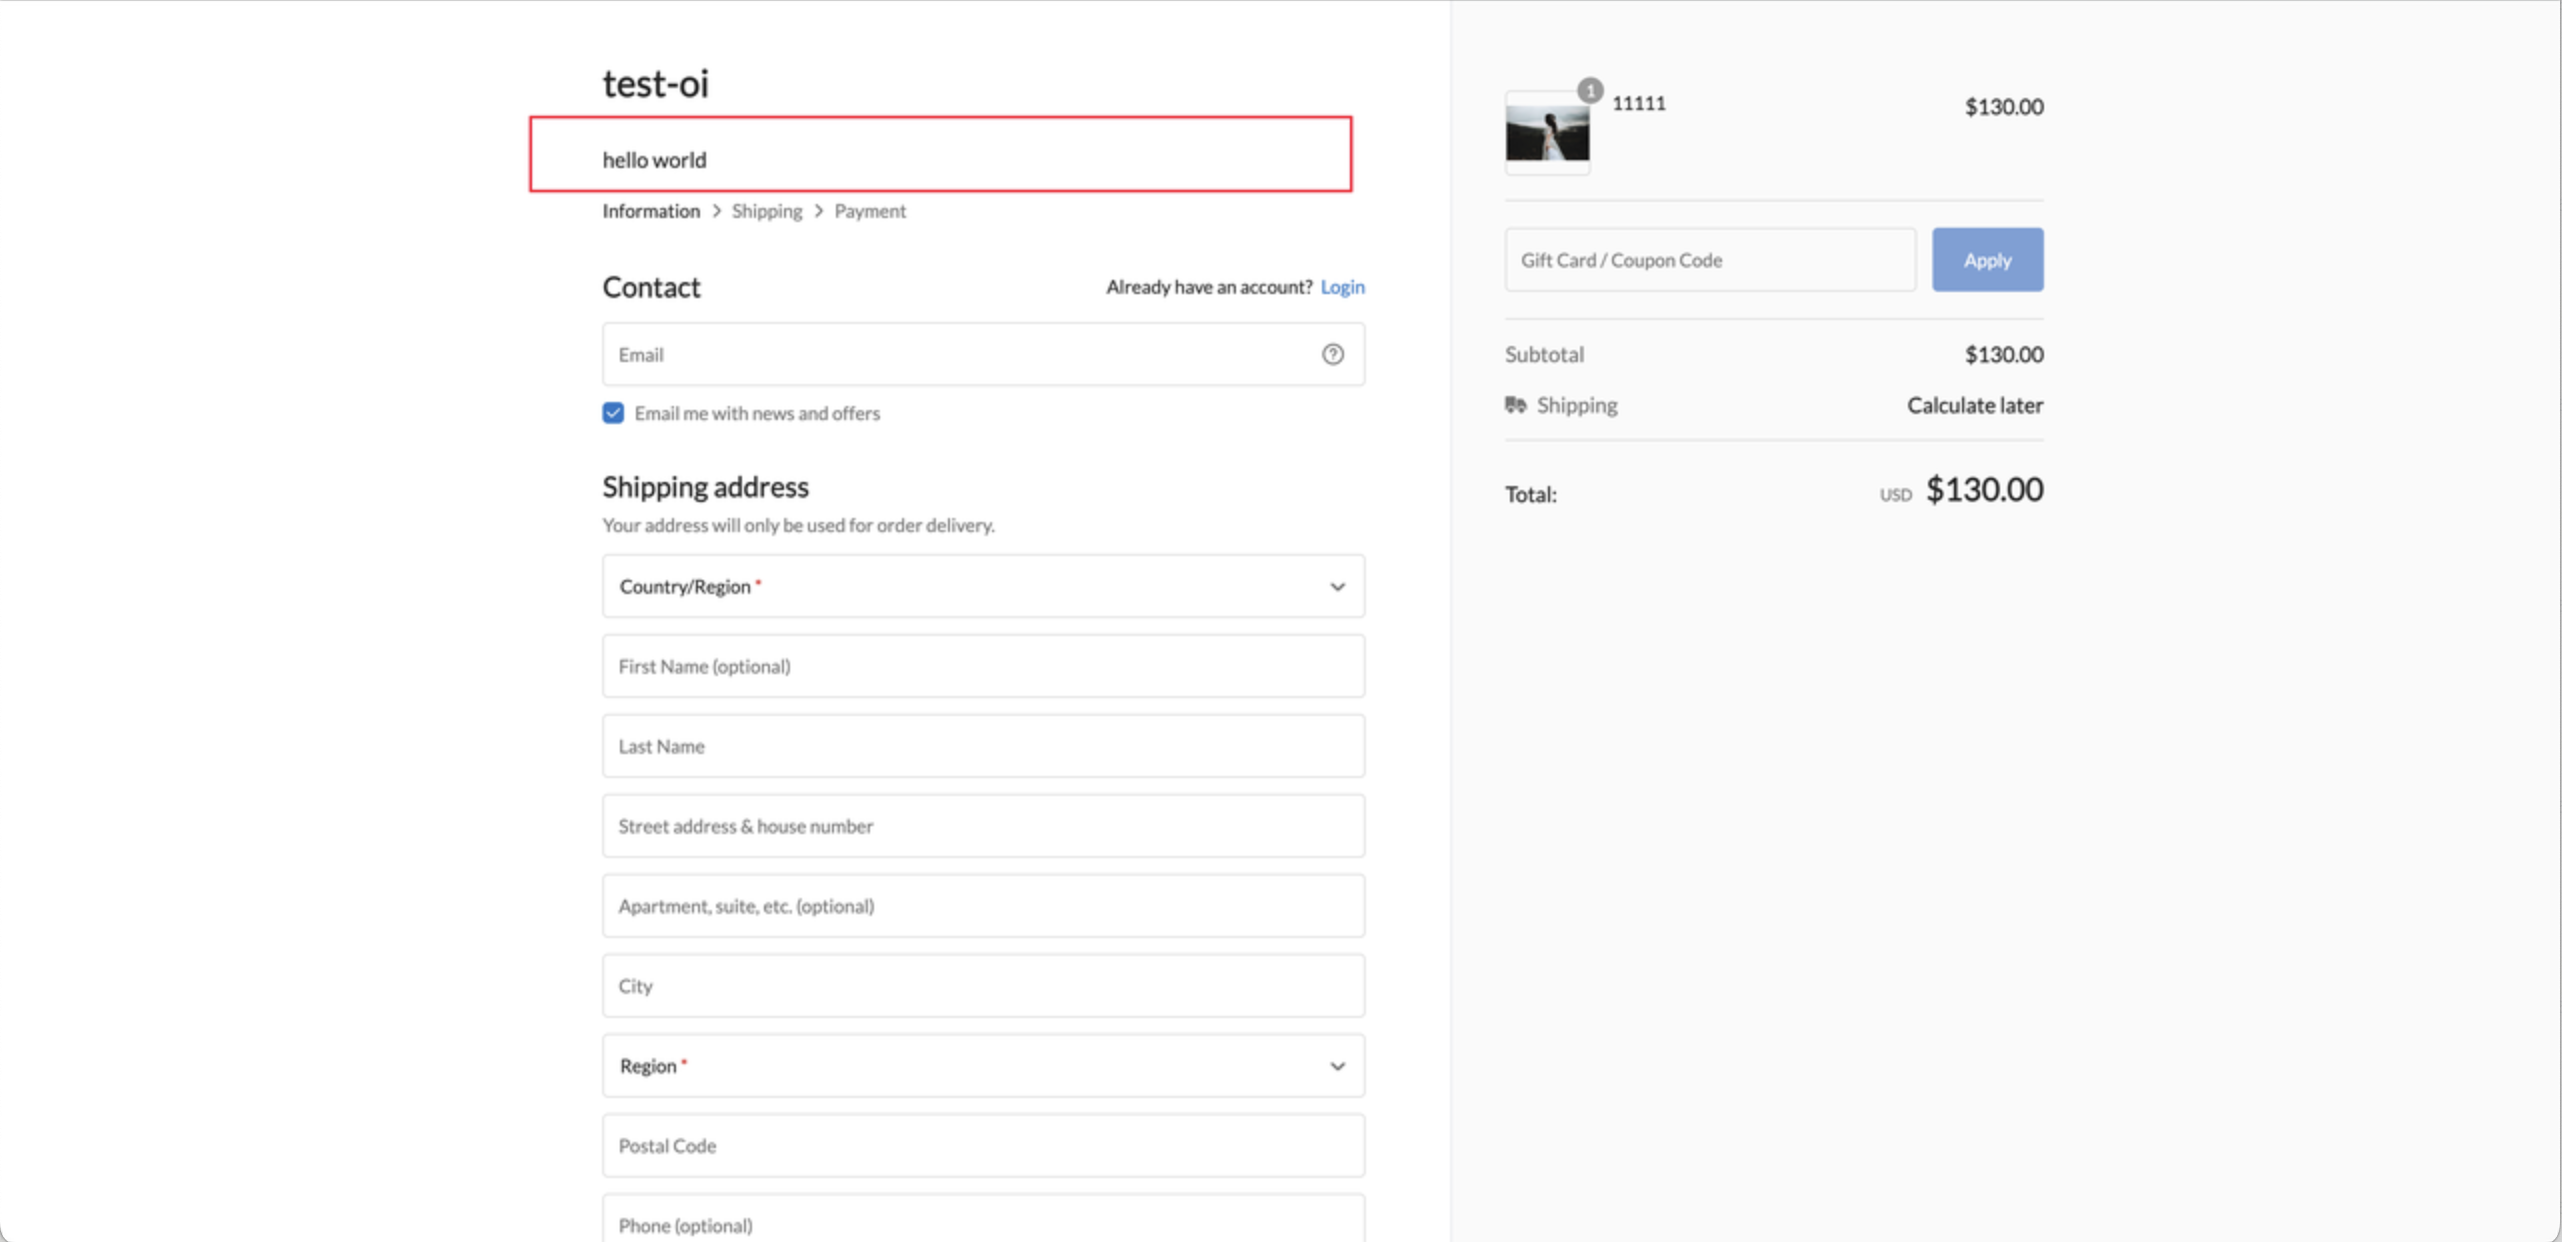
iii. Checkout Extension
- Go to the Online Store, navigate to the Checkout Page, and observe whether the script is injected.
6. Deployment and Publishing
Deploy the Application:
shoplazza app deploy- Check Project Configuration and Extensions. Create an application version
- Deploy to the Production Environment:
- Provide deployment results and preview links
Other Technical Support
1. Version Management
shoplazza app versions list- Use Semantic Versioning (e.g., 1.0.0, 1.1.0, 2.0.0)
- Regularly Review Version History:
2. Configuration Management
- Create Separate Configuration Files for Different Environments
- Use
shoplazza app config useto Switch Between Environments - Regularly Back Up Configuration Files
shoplazza app config link3. Troubleshooting
shoplazza app --help
shoplazza app <command> --help
Updated about 1 month ago